Making Art with Fabric
Here is a DIY wall art idea. I wanted some artwork that would bring in the pattern of my throw pillows. I had heard of covering canvas in fabric and even framing fabric before, but I wondered how it would come out to using those unfinished frames from Hobby Lobby. I had not really seen anyone attempt to stain them, but it sounded fairly easy.
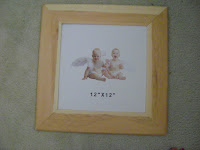
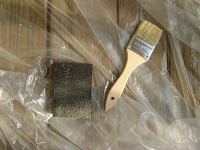
These are the supplies I used: unfinished wooden 12 x 12 frames from Hobby Lobby, a half of a yard of fabric from Hobby Lobby (this was later cut along the center line to make two pieces), Minwax stain (in whatever color you decide), a sanding block and a brush.
 First, I used the sanding block to smooth the rough sides of the frame. Once the frames were completely smooth to the touch, the stain was applied with the paintbrush.
 I did not use primer for this project, thinking I could skip this step. That was not my best idea. Primer should have been used here. The wood would have taken on the stain better had that been done. Oh well, you live and learn.
While the stained frames dried, I took the insert for the frames and wrapped the fabric around them. When doing this step be sure to pull the fabric tight enough so there are no ripples on the front side that will be visible in the frame. I secured the fabric to the inserts with a hot glue gun. The best way to do this is to do the sides opposite each other first. For example, I started with the top, and glued that side down, then I repeated the same step with the left and then right sides of the square.
Once the frames were dry, I reassembled them with the inserts. The finished product will look like this.


Comments
Post a Comment