Additional Kitchen Storage
Our kitchen is a little small, and I need lots of kitchen storage. So, I came up with a solution to my problem of not having enough space to put everything. I came across this pretty armoire on Craigslist.
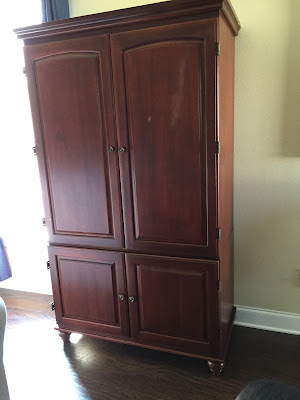

The shape and size was perfect for what we needed. It was simply the wrong color to match our kitchen cabinets and the other furniture in our living room area. So, I knew I would have to stain it.
Deciding what stain to use and how to use it was my first major hurdle. I wondered if spray painting it was the best bet, given it would provide a similar look to our kitchen cabinets. But, honestly, I could not really find too many examples online of spray painted wood in an espresso color or something of the like. Most of the examples of spray painted wood pieces were of bright vibrant colors, none of which I wanted for our armoire.
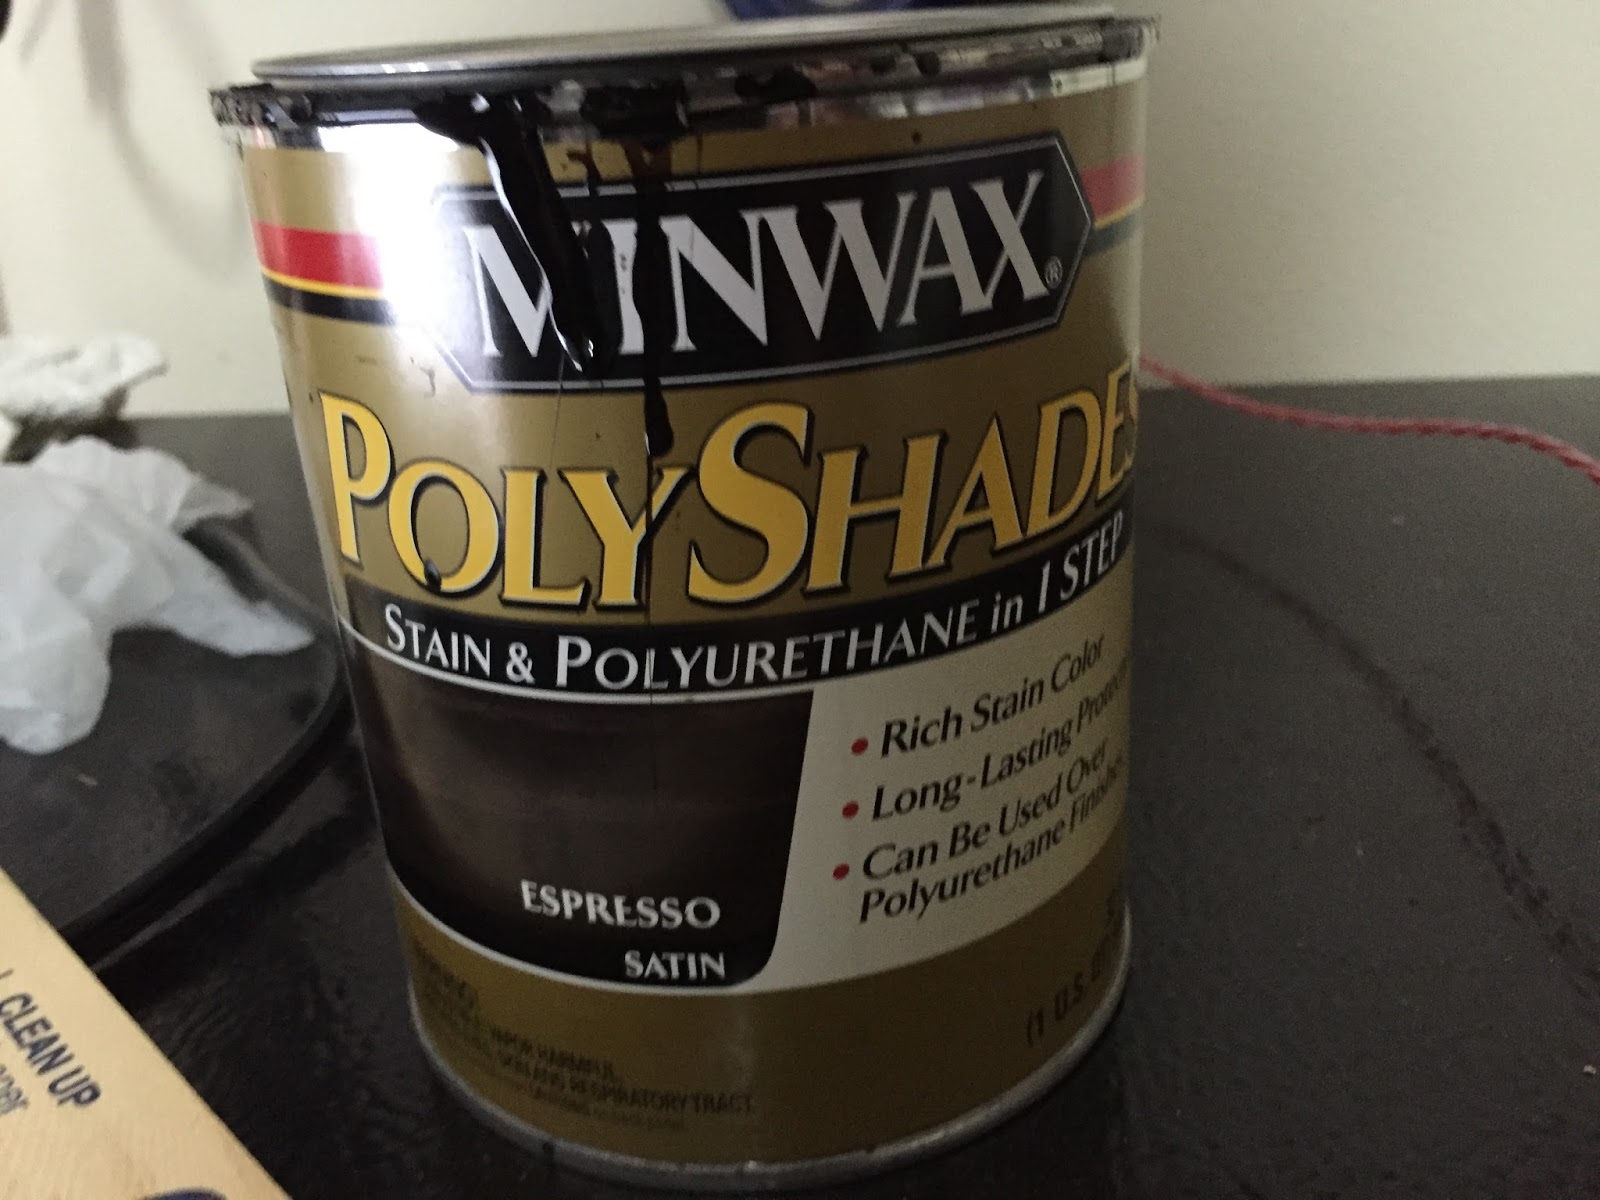
In my research, I came across the Young House Love post where they stained the cabinets in their kitchen using this Minwax Polyshades in Espresso. I loved the look of their finished product. I also loved that this stain claimed to be stain and polyurethane in one. Some of the reviews for this product claimed it wasn't worth the trouble. But in our case, it was user error that was more of our problem than the product.

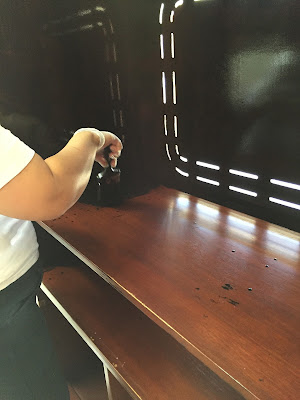
So, here's our experience with the product. I did not plan to sand the armoire initially, only a small section where there was a blemish. I simply wiped the armoire down with a damp rag to eliminate it of any dirt and dust particles. Here's a photo of the Little Mister helping us move the piece out to the garage to work on it. He wanted to "help".

When we applied the stain, it went on pretty smoothly. I didn't see any issues off hand. As the project began to dry, I started to notice a few bubbles and drips, and I would take my brush and try to smooth them out. After smoothing out all the imperfections I saw, I let the piece dry.


Now, I will say this about the brushes. I usually try to clean my paintbrushes and see if I can recycle them. However, in the case of this oil based stain, it was not happening. It would have been an absolute mess to clean those brushes. But, here's where I messed up. The same weekend I was staining this armoire, we were also re-staining our cedar play set. I was able to wash the brushes from the play set. It appeared the water ran clean after I scrubbed for a while. I set aside those brushes, thinking once dried, I could use them on another project.
Well, I was wrong! I picked up one of those brushes one morning before work and attempted to smooth out some more bubbles I had found on the armoire. I also used the recycled brush to paint the two bottom doors of the piece.
I returned from work that day to a white matte residue over everything I had touched with that brush. Here is a picture of what it looked like when it dried.

It was horrible!!! My heart sunk. All my hard work had been in vain. This meant I would have to sand down everything I had touched with that brush and re-stain it. Here are pictures of my boo-boo and us sanding it down.


Once everything was sanded, I applied the stain to all of the unfinished parts. I did not take many pictures during this phase because I wanted to focus on what I was doing and watch carefully as I applied the stain to see how it reacted. The doors of the armoire seemed to be more of an engineered material than the unit base. So, they accepted the stain differently than the base.
Here is a picture of everything as it was drying.


And, here is the finished product. I'm pretty pleased with the results. I love the way it looks in our open living/dining room area.


The shape and size was perfect for what we needed. It was simply the wrong color to match our kitchen cabinets and the other furniture in our living room area. So, I knew I would have to stain it.
Deciding what stain to use and how to use it was my first major hurdle. I wondered if spray painting it was the best bet, given it would provide a similar look to our kitchen cabinets. But, honestly, I could not really find too many examples online of spray painted wood in an espresso color or something of the like. Most of the examples of spray painted wood pieces were of bright vibrant colors, none of which I wanted for our armoire.
In my research, I came across the Young House Love post where they stained the cabinets in their kitchen using this Minwax Polyshades in Espresso. I loved the look of their finished product. I also loved that this stain claimed to be stain and polyurethane in one. Some of the reviews for this product claimed it wasn't worth the trouble. But in our case, it was user error that was more of our problem than the product.
So, here's our experience with the product. I did not plan to sand the armoire initially, only a small section where there was a blemish. I simply wiped the armoire down with a damp rag to eliminate it of any dirt and dust particles. Here's a photo of the Little Mister helping us move the piece out to the garage to work on it. He wanted to "help".

When we applied the stain, it went on pretty smoothly. I didn't see any issues off hand. As the project began to dry, I started to notice a few bubbles and drips, and I would take my brush and try to smooth them out. After smoothing out all the imperfections I saw, I let the piece dry.


Now, I will say this about the brushes. I usually try to clean my paintbrushes and see if I can recycle them. However, in the case of this oil based stain, it was not happening. It would have been an absolute mess to clean those brushes. But, here's where I messed up. The same weekend I was staining this armoire, we were also re-staining our cedar play set. I was able to wash the brushes from the play set. It appeared the water ran clean after I scrubbed for a while. I set aside those brushes, thinking once dried, I could use them on another project.
Well, I was wrong! I picked up one of those brushes one morning before work and attempted to smooth out some more bubbles I had found on the armoire. I also used the recycled brush to paint the two bottom doors of the piece.
I returned from work that day to a white matte residue over everything I had touched with that brush. Here is a picture of what it looked like when it dried.

It was horrible!!! My heart sunk. All my hard work had been in vain. This meant I would have to sand down everything I had touched with that brush and re-stain it. Here are pictures of my boo-boo and us sanding it down.


Once everything was sanded, I applied the stain to all of the unfinished parts. I did not take many pictures during this phase because I wanted to focus on what I was doing and watch carefully as I applied the stain to see how it reacted. The doors of the armoire seemed to be more of an engineered material than the unit base. So, they accepted the stain differently than the base.
Here is a picture of everything as it was drying.


And, here is the finished product. I'm pretty pleased with the results. I love the way it looks in our open living/dining room area.

We have even begun to fill it up already.


Comments
Post a Comment