Mickey Mouse Cookies and DIY Cookie Cutter

For the Little Mister's Mickey Mouse themed party, we wanted to have some cookies decorated with the Mickey theme. I had a difficult time locating the right size cookie cutter locally. I found a set of Mickey Mouse cookie cutters, but they would have made for some really small cookies.
I had seen a few things on the internet about making your own cookie cutter. I was running out of time and had difficulty finding the right size mouse face and ears in a cookie cutter, I decided to give making my own cutter a try.
I used this tutorial by Queen Leilani on YouTube. The instructions for making the cutter begin around the two minute mark of the video. This video was apparently a contest submission, so she does quite a bit of talking before the tutorial. However, her instructions on actually making the cutter are quite easy to follow.
The cookie cutter I made came out better than I expected. I just kind of kept playing around with the shape until it seemed just right. The true test would be using it. But, I figured out that if I simply placed the cutter over the rolled out dough and pressed it down into the dough with the palm of my hand, it worked well.


Let's backtrack a little bit and talk about the recipe I used to make the cookies. The recipe I used for the cookies came from In Katrina's Kitchen. It can be found here. They are supposed to bake for about 6 - 8 minutes. I baked mine for 8 minutes. After cooling, I began decorating them.

For the royal icing, I used Ashley's recipe from the Kitchen Meets Girl blog. The recipe can be found here. After mixing the initial batch of icing, I left some white, and colored the rest red and black. Of the red and black icing, I separated out some and added a little water to it to thin it out a bit. The thinner consistency is used for "flooding" or filling the cookies. The thicker consistency is used to outline the cookies.


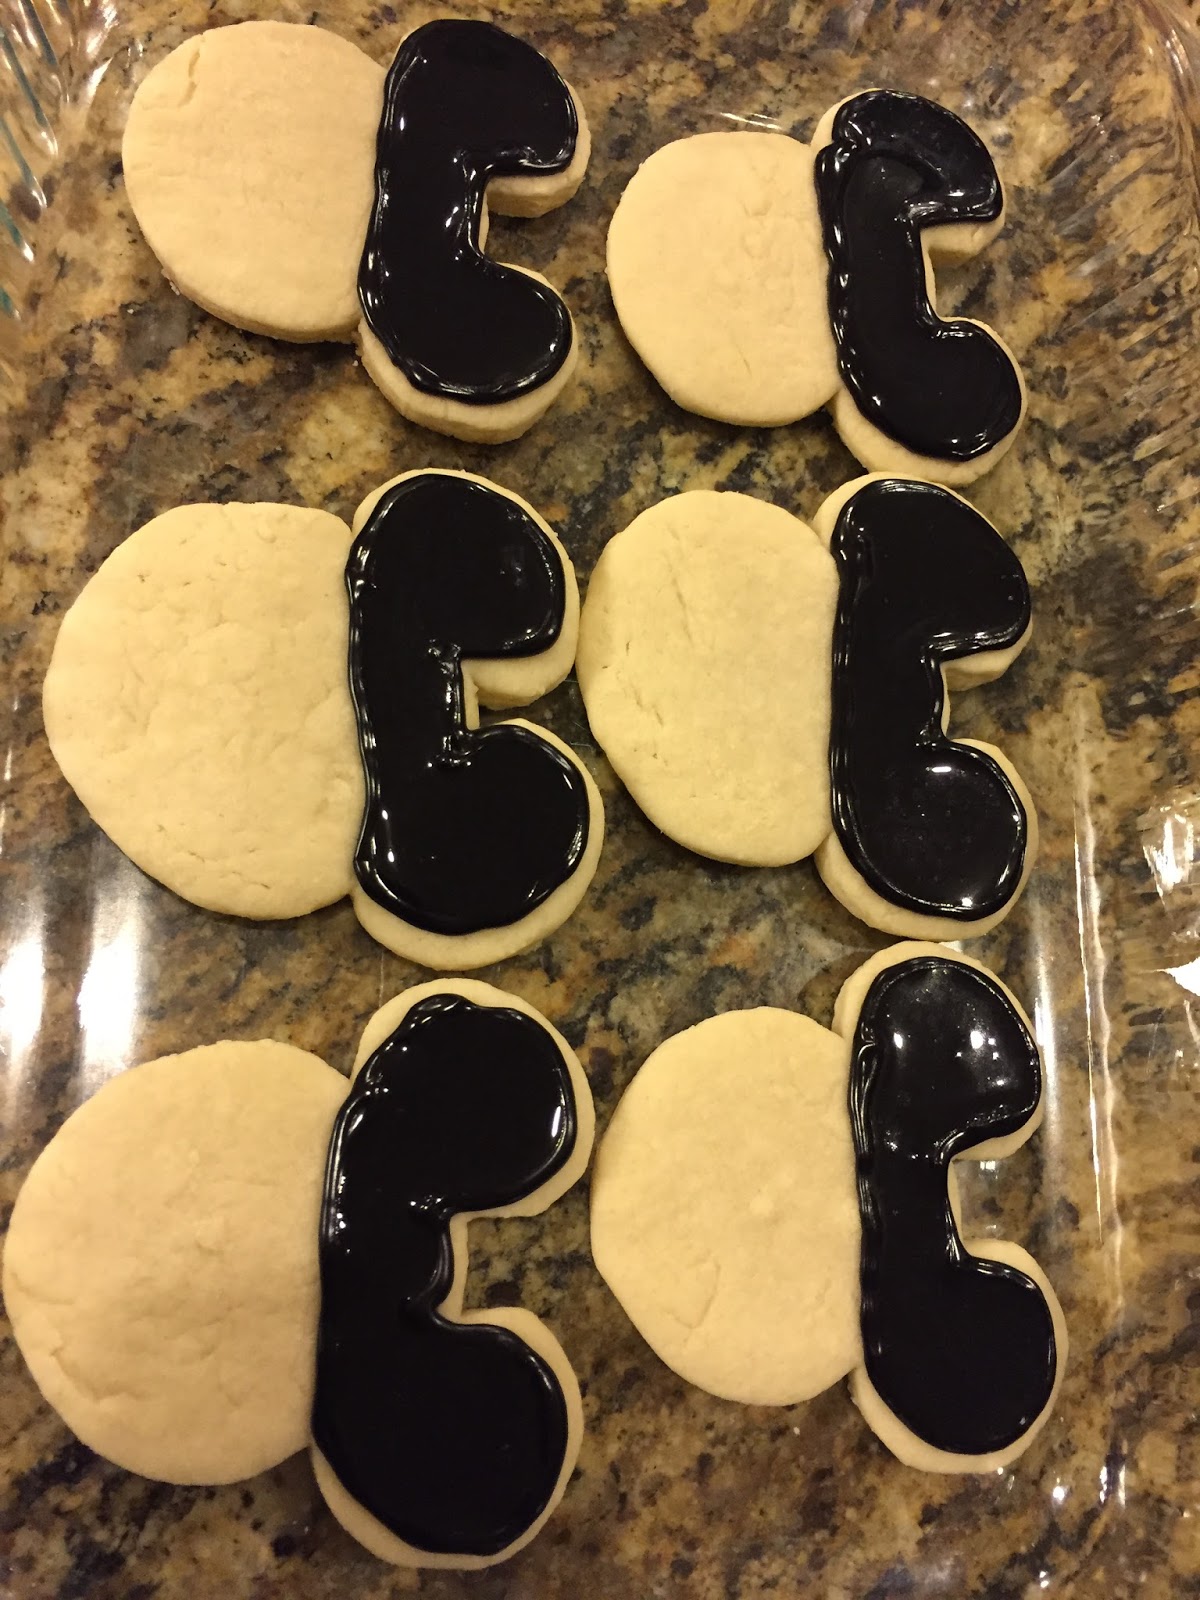
To decorate the cookies, I worked on them one section at a time. So, for the Mickey themed cookies, I began with the ears. I outlined them in black with the royal icing.

Using the thinner consistency icing, and a spoon, I carefully drizzled the black flooding icing within the black outline. I used the spoon to carefully spread the icing. It does not take a lot of icing to flood the space. So, go slow when trying this yourself.


After completing the ears, I used the same technique to complete the red pants, outlining first, then filling the outlined space.


Here was the finished cookie once it dried completely.

And, here is a sea of mouse ears. This is how we displayed the cookies at the party. I think they turned out pretty cool. They are definitely worth a try.


Comments
Post a Comment