Before the stay-at-home order was issued for us, I had purchased supplies for many projects. Said supplies were stashed in various locations of the house, waiting to be used. My intention was to get to the project soon. Well, months passed, and the bag of supplies stayed in the corner in the closet, the canvases stayed on the shelf and the foam paintbrushes in the garage.
This stay-at-home mandate has afforded me the time to get to those projects we had not yet finished. We have been doing lots of artwork during this "quarantine". It has been something that has kept us entertained. And, who doesn't love personal art on their walls? This particular project was perfect for the Little Mister.
I had been wanting to try out an idea I had for tissue paper art. The idea was to use a large circular paper puncher to cut circles of tissue paper, then adhere the paper to a canvas. Well, that didn't quite work out, which you'll see, but we were still able to complete the project using tissue paper circles.
First we tried using the paper puncher to cut out the circles. But, the tissue paper got stuck in the puncher. We couldn't get it to open and release the paper. So, that paper ripped along around the circle instead of coming out with a clean cut.
Instead, we opted to cut the circles by hand.
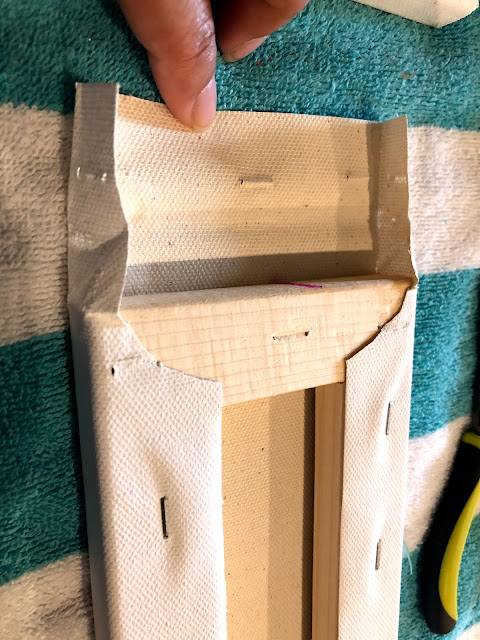
After cutting all the circles, I had to modify the canvas. I wanted a long canvas that was 4" wide to fit in a specific narrow space. I couldn't find what I wanted in the stores. So, I decided to attach two 4 x 12 canvases together. To do so, I removed the staples from one of the 4" ends of one of the canvases.
Using E-6000 glue, I attached the two frames together.
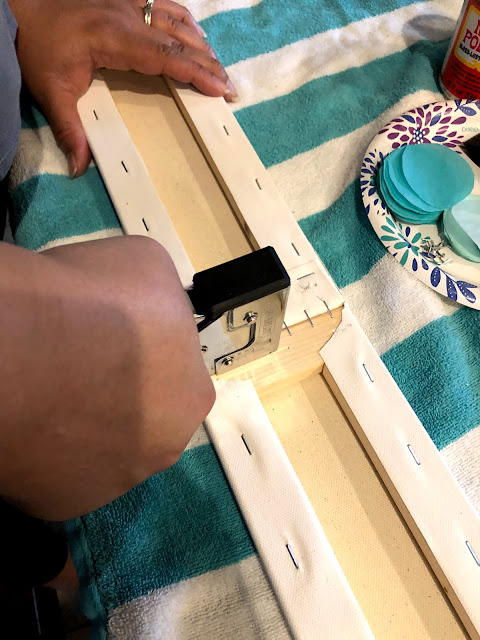
To secure the placement of the canvases, and ensure they wouldn't bend where I joined them together, I used staples to reinforce the ends of each of the canvases. I wrapped the canvas ends around and put two staples on either side to make sure the canvases would stay in place.
There is one seam in the middle of the canvas and a couple of staples are exposed on the sides, but none of this mattered for this project. It won't show once completed because the circles are layered all over. I was able to easily overlap tissue paper circles over the staples to conceal them.
Now, this was the fun part. We spread Mod Podge on the entire canvas. We didn't need a thick layer, a thin one does just fine for this job.
After applying a generous layer, we placed the tissue paper circles all over the canvas randomly. The Little Mister enjoyed placing the circles on the canvas. There were no rules, just creativity.
Then, we gently put a layer of Mod Podge over the entire canvas. I say gently, because if you aren't careful, you can move some of the tissue paper circles with the brush. So, I basically dabbed the Mod Podge over the circles to get them to adhere to the canvas. Then I came back over and used long motions to smooth out the medium over the canvas.
Once it dried, we were pleased with the way it came out. It was made to fit next to our wooden crate shelving in the guest bathroom. I'll reveal our bathroom makeover later.


Comments
Post a Comment